INSTRUCTIONS FOR FOGRA COLOUR PROFILE SETTINGS IN CC2022 ON MACOS 11.5.2
Fogra Colour Profile Setup for Accurate Printing | Adobe Creative Suite
Fogra 51 & 52 Colour Profile Settings
Setting up accurate color profiles, like Fogra 51 and Fogra 52, requires consistent and precise color reproduction in your print work. It is important to properly configure Color Settings in Adobe InDesign and Photoshop to prevent unwanted color changes, especially in backgrounds. These profiles are essential when converting from RGB to CMYK, during digital proofing, and when creating PDFs. Once your Color Settings are properly configured, the process will be smooth and effortless.

Accessing Fogra Colour Profiles
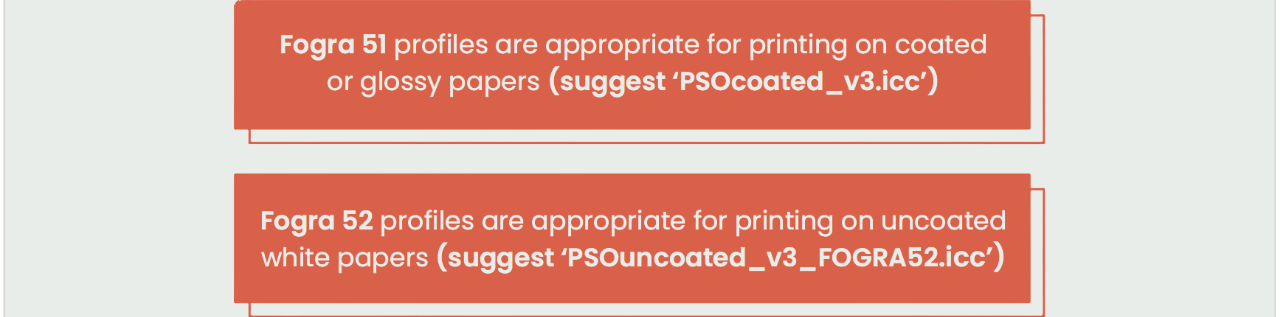
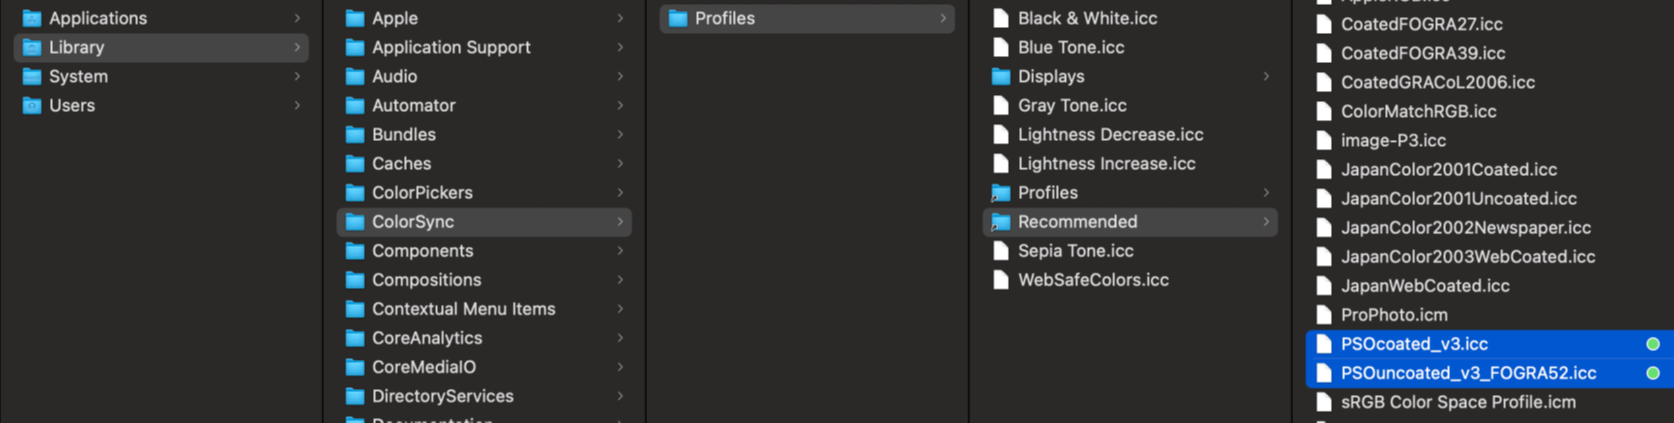
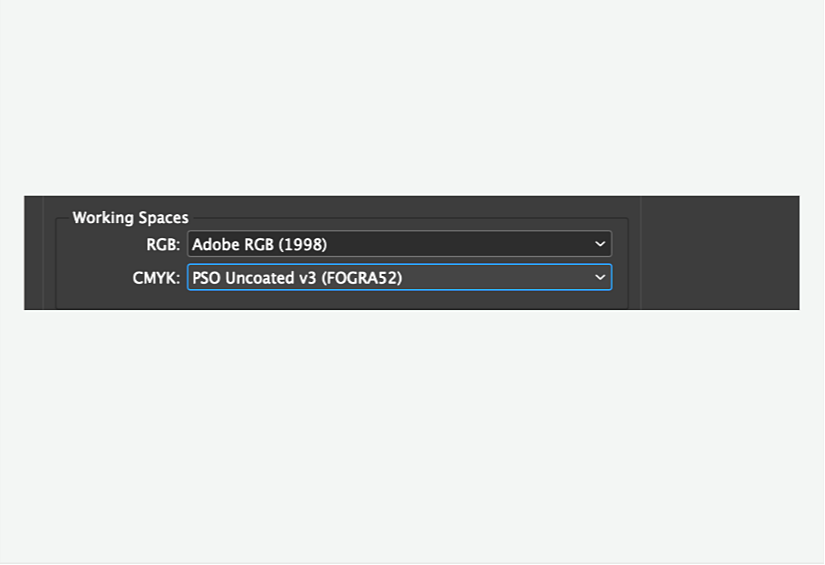
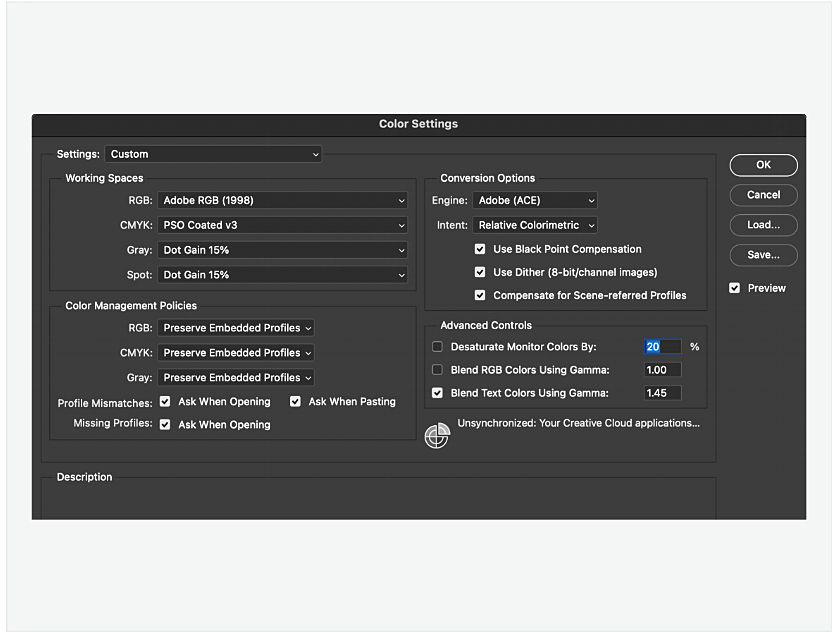
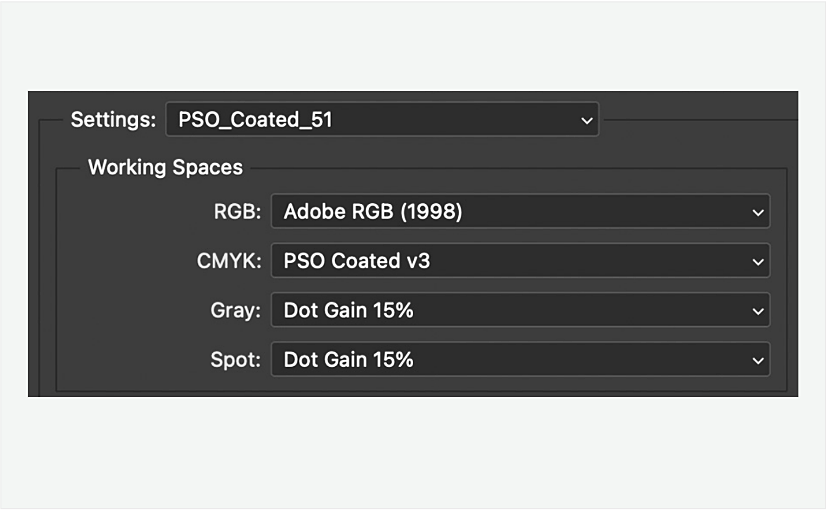
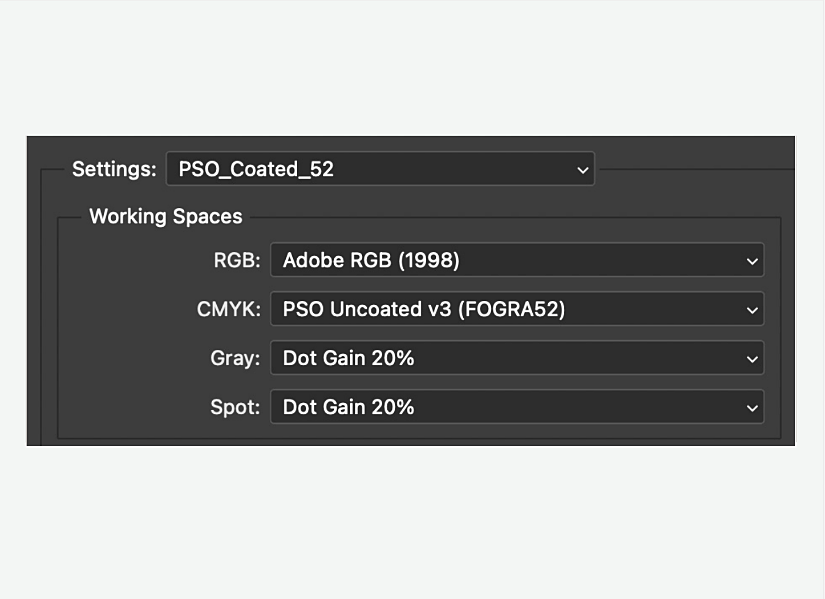
To ensure you are using the correct color profiles for your print work, you can access coated and uncoated paper profiles. Fogra 51 (for coated paper) and Fogra 52 (for uncoated paper) are available for download from the European Colour Initiative website:
http://www.eci.org/en/downloads
Note: Be cautious when downloading profiles and make sure to choose the appropriate ones, as different websites may offer multiple profiles for various printing conditions and papers.
Where to Place Fogra Colour Profiles
Once you’ve downloaded the Fogra 51 or Fogra 52 profiles, it’s important to place them in the correct directory. For both macOS and Windows, you should place them in the following location:
Library > ColorSync > Profiles > Recommended.

Colour Settings | Adobe InDesign

STEP 1:
Setting up Fogra 51
1. Go to Edit > Colour Settings in Adobe InDesign.
2. In the Settings menu, select Custom.
3. Choose the settings as shown in the example, ensuring the Preserve Numbers (Ignore Linked Profiles) setting is corrected to prevent any tint shifts.
4. Change the CMYK Working Spaces from “Coated FOGRA39 (ISO 12647-2:2004)” to “PSO Coated v3”, which is the appropriate Fogra 51 setting for coated paper.
Note: While Fogra 39 is an older version for coated paper, Fogra 51 is the updated version recommended by the industry, including by Kuan Press Sdn Bhd.
STEP 2:
Name the Colour Setting
1. Save the color setting by clicking Save, and give it a descriptive name (e.g., PSO_Coated_51).
2. Ensure that this name is clear for future reference.


STEP 3:
Setting up Fogra 52
1. Fogra 52 is the recommended color profile for uncoated white paper.
2. Follow the same steps as for Fogra 51, but change the CMYK Working Spaces to “PSO Uncoated v3 (FOGRA52)”.
3. Name the setting accordingly (e.g., PSO_Uncoated_52).
Note: Ensure color settings are synchronized across all Creative Suite applications, which can be easily done through Adobe Bridge.
Colour Settings | Adobe Photoshop

STEP 1:
Setting up Fogra 51
1. Go to Edit > Colour Settings in Photoshop.
2. Under the Settings section, select Custom.
3. Ensure all settings are configured as shown in the guide.
4. Change the CMYK Working Spaces to “PSO Coated v3” for Fogra 51, which is ideal for coated paper.
Note: Fogra 51 offers superior quality and color consistency over the older Fogra 39 setting, which is why Kuan Press Sdn Bhd adopts this newer profile.
STEP 2:
Name the Colour Setting
1. After configuring the settings, click Save and give the setting a descriptive name.
2. The sample shown here was named as “PSO_Coated_51”.


STEP 3:
Setting up Fogra 52
1. Follow the same steps as for Fogra 51, but update the CMYK Working Spaces to “PSO Uncoated v3 (FOGRA52)”.
2. Additionally, adjust the Dot Gain for Gray and Spot to 20% to accommodate the higher dot gain on uncoated paper.
3. Name this new setting (e.g., PSO_Uncoated_52).
Note: For smooth workflows, synchronize color settings across all Adobe applications via Adobe Bridge.